
Vanilla extract is a staple in almost every baker’s pantry. While buying it is convenient, making your own allows you to control the quality of the beans, the type of alcohol used, and the overall strength of the final product. The process is incredibly straightforward, requiring minimal effort but a significant commitment to patience, as the infusion process takes several months.
This guide will walk you through everything you need, from selecting the perfect vanilla beans to storing your finished extract for years of flavorful baking.
Requirements for Homemade Vanilla Extract
Before you begin, gather the necessary high-quality ingredients and equipment. The quality of your inputs directly impacts the quality of your final extract.
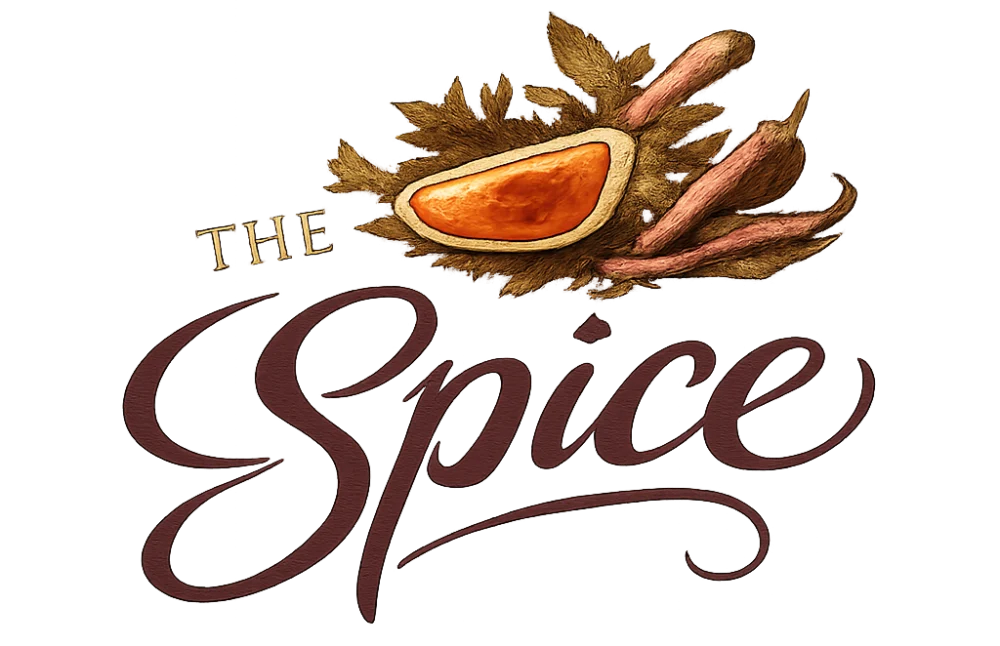
- Vanilla Beans: The star of the show. For the best flavor, use Grade B (also known as extraction grade) beans. These are slightly drier than Grade A (gourmet grade) but have a higher concentration of vanillin, making them ideal for extraction. Popular varieties include Madagascar Bourbon, Mexican, or Tahitian.
- Alcohol: You must use alcohol that is at least 70 proof (35% alcohol by volume), but 80 proof (40% ABV) vodka is the most common choice as it has a neutral flavor profile that lets the vanilla shine. Bourbon or rum can also be used for a unique flavor twist.
- Glass Jar with Airtight Lid: A clean, clear glass jar (like a Mason jar) that seals tightly is essential to prevent evaporation and contamination.
- Sharp Knife or Scalpel: For splitting the vanilla beans.
Step 1: Preparing the Vanilla Beans
The goal here is to expose the maximum surface area of the tiny seeds (the caviar) inside the bean pod to the alcohol. This maximizes flavor extraction.
- Cleaning: Wipe the beans gently with a dry paper towel if they feel sticky, but do not wash them with water.
- Splitting: Using your sharp knife, slice each vanilla bean lengthwise down the middle, starting from one end and stopping just before the other end. You want the two halves to remain connected at the top or bottom like a hinge.
- Scraping (Optional but Recommended): For an immediate, richer flavor, you can gently scrape out the seeds from the split pods using the back of the knife and add them directly into the jar along with the pods.
Step 2: Combining Beans and Alcohol
This step involves combining your prepared beans with the chosen spirit in the sterilized jar.
- Ratio Guide: A general rule of thumb for single-fold extract (the standard strength) is to use approximately 1 ounce of vanilla beans for every 8 ounces (1 cup) of alcohol. This usually equates to about 5 to 7 standard-sized vanilla beans per 8 ounces of liquor. Adjust this ratio if you prefer a stronger, double-fold extract.
- Filling the Jar: Place the split beans into the glass jar. If you scraped the seeds, add those in as well.
- Submerging: Pour the alcohol over the beans until they are completely submerged. Ensure that no part of the bean is sticking out above the liquid line, as this can lead to mold growth.
- Sealing: Seal the jar tightly with the airtight lid.
Step 3: The Infusion and Curing Process
This is the most crucial, and longest, part of the process. Patience is key to developing a deep, complex flavor.
- Storage Location: Store the sealed jar in a cool, dark place, such as a pantry or cupboard. Direct sunlight and heat can degrade the flavor compounds.
- Shaking Routine: Shake the jar vigorously once a week for the first month. After the first month, shaking it once every two to four weeks is sufficient. This helps redistribute the vanilla oils throughout the alcohol.
- Curing Time: Vanilla extract needs a minimum of 8 weeks to be usable, but for truly rich, robust flavor, allow it to cure for 6 to 12 months. The color will deepen from clear to a rich amber or dark brown over time.
Step 4: Using and Maintaining Your Extract
Once your extract has reached a color and aroma you are satisfied with, it is ready for use.
- Using the Extract: You can begin using the extract straight from the jar. As you use it, the liquid level will drop.
- Topping Off (Recharging): To keep your extract perpetually ready, you can top off the jar with more alcohol as the level decreases. You can also add new, split vanilla beans to replenish the flavor potency. This is known as creating a ‘mother jar.’
- Filtering (Optional): If you prefer a clear extract without bean pieces, you can strain the liquid through a coffee filter into a clean bottle once it has cured sufficiently. However, most people prefer to leave the beans in for continuous infusion.
Making your own vanilla extract transforms a simple baking ingredient into a gourmet experience. While the wait is long, the satisfaction of using an extract infused with your choice of beans and spirit is unparalleled. Enjoy the rich, aromatic results of your patience!
Related Posts